
How To Build Your Own Recording Studio: A Quick Guide
Jeremy Alves | Jul 06, 2022
Just like how every carpenter needs a hammer, you need the right tools for the job if you want to be involved in music and sound production.
If you’re serious about being involved in sound production, what sets apart the amateurs from the aspiring professionals is simple: proper equipment and the training to use it.
Knowing how to make a home studio lets you bring the professional-grade equipment and electronics you need for quality audio recording right into your own home. But while most musicians dream of having a homemade recording studio, how exactly do you build one? What should you consider? And what are the challenges when building a studio?
Why Should You Build Your Own Studio?
DIY projects can be a rewarding experience for anybody, but why does it make financial and logical sense to build a music production studio in your own home?
- The cost makes sense for long-term musicians: When the rent cost of a professional recording studio can be tens or even hundreds of dollars an hour, a home studio makes financial sense if you’re sure you’re sticking to it in the long-term.
- You don’t have to worry about time limits: When paying by the hour, some indie musicians feel pressured to rush the work in order to avoid overage charges. Doing so often compromises on quality, which no one wants to risk.
- It’s available 24/7: When inspiration hits at the most random times, there’s no need to track when the recording studios close. Whether it’s early in the morning or at 2 AM, you always have your studio ready for you.
- And it’s right in front of you: Traveling to a professional studio can also cost gas money or transportation tickets. And when the rain starts pouring, a home studio doesn’t require you to reach for that umbrella.
- You can customize it: Much like a home office, designing your own space means choosing all the tools, equipment, and furniture. Getting inspiration for your work is usually much easier when you’ve designed your workspace yourself.
- It’s fully yours: It can be nerve-wracking, especially for new artists, to go to a public recording studio. Gain inspiration in the comfort of your own home with a DIY project.
And, of course, you can consider developing your own recording studio as a sort of rite of passage for your career. Let’s get into how to build a studio from scratch.
How To Build a Recording Studio In Your Own Home
Much like any major personal project, don’t expect everything to work out immediately. Building a studio may take several days, and you might want to make changes as you progress. Here are some steps to get you going.
Stage 1: Planning
Don’t get too excited just yet. Before you start spending any money, plan out what you aim to achieve with this recording studio. Whether you’re looking to record some demos or dive deep into audio engineering, your goals will dictate how you prioritize your budget and pick your hardware. Keep in mind that your objectives may change over time, so get ready to be flexible with the budget.
Speaking of the budget, think about whether you want to implement a spending cap now or you’re okay with buying new items incrementally. And, of course, don’t forget to check out the second hand market to save some extra money.
Stage 2: Choosing the Room
Few rooms in a typical household are optimized for recording, but you can certainly optimize your starting point. Ideally look for a room that has:
- A solid door with few windows
- A high ceiling
- Carpeting for sound absorption
- Resistance against outside noise, also known as soundproofing
- A large enough space for your equipment
Another concept to grasp is acoustic treatment, which differs from soundproofing. The layout of your studio and the position of the equipment can change the sound flowing through the room, so set up in such a way that any recording retains its integrity. Do your research on this topic, as there’s plenty of considerations to make in this regard. You’ll probably have to add some acoustic treatment material (such as foam or fabric absorber panels) to get more accurate sound reproduction. If you don’t want to build your own absorbers, the company Primacoustic offers some great “studio in a box” solutions.
Stage 3: Equipment
Music production is heavily dependent on having the proper recording equipment. Gear up your home recording studio with these essentials:
- A computer: Think about a desktop or laptop computer, which will run all the desktop software and applications you need to take control of the recording process. Pair it with a digital audio workstation (DAW) software package, such as Pro Tools, Logic Pro or Ableton
- An audio interface: An interface converts the analog audio signals into digital files that the computer can work with. Good interfaces also incorporate microphone preamps as well as handling instrument level signals such as from a guitar. The Scarlett range of interfaces from Focusrite are a popular choice with many different price points and input/output configurations.
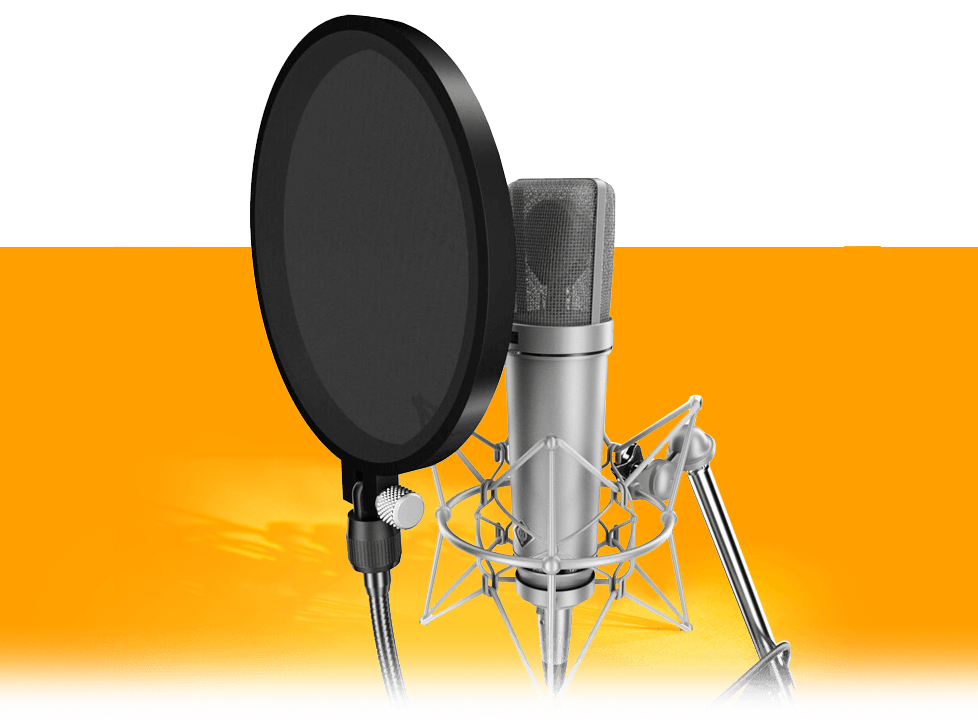
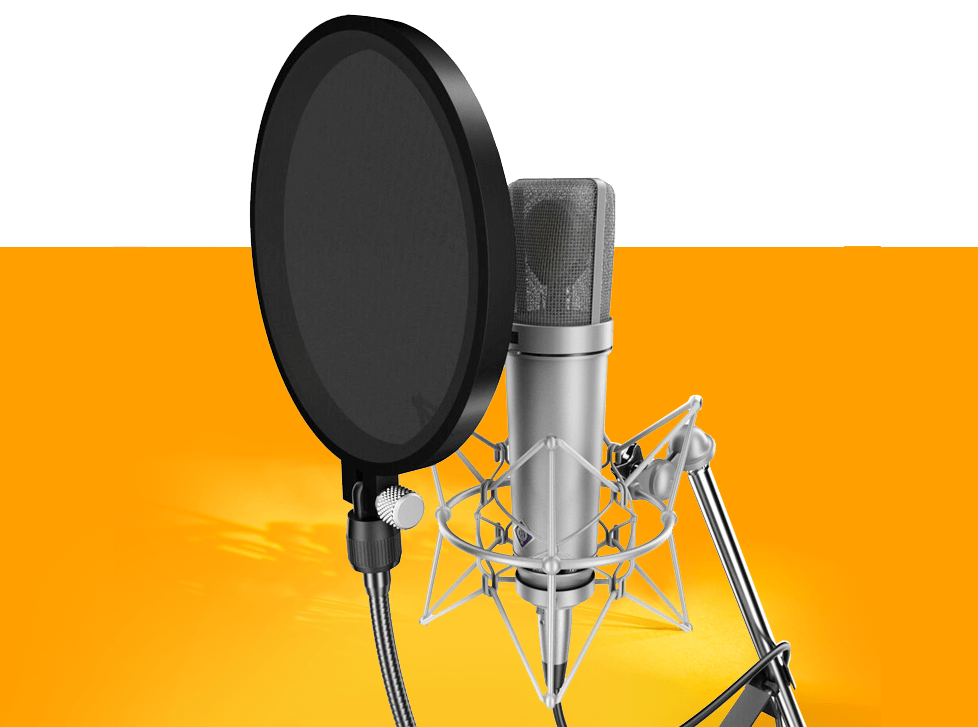
- A microphone: Of course, you can’t forget a high-end microphone. Whether you need a condenser, a dynamic, a ribbon, or any combination of these options, pair your mic setup with any needed accessories like XLR cables or pop filters. Shure, Rode and Blue Yeti are some manufacturers popular with the home studio market
- Speakers: Studio monitors are named so because they allow you to accurately monitor your own work and make adjustments to your sound accordingly. KRK and Yamaha both make great sounding studio monitors that won’t break the bank.
The task certainly sounds daunting, but don’t be fooled; any artist can get started on a home recording studio. Just ask Ryan Tuer, owner of Scary Gnome Productions (and OIART alumnus!), who details in this video how he accomplished this task to accelerate his career.
Go From Hobbyist to Professional with OIART
Thanks to the cost of equipment going down and rising markets for indie artists, production in music is a far more accessible industry for regular people than it used to be. Putting together your own home studio is a major step towards your success in that regard.
But if you really want to jump start a fruitful career, you want to learn the tricks of the trade alongside other like-minded people. The Ontario Institute of Audio Recording Technology (OIART) offers live classes with low student-teacher ratios. Students get hands-on experience using all the same software and equipment as the pros.
Whether you’re based in the US, the UK, or Canada, our programs are designed for the aspiring producer, sound engineer, or any other related audio professional. Apply today for free but don’t delay. We only accept a maximum of 68 students per year.
Ready to Start?
OIART's Audio Program Includes:
✓ Small Class Sizes
✓ On Site Facilities
✓ Industry Leading Instructors
✓ Post Grad Support & Guidance
✓ Exclusive 11 Month Program
Have Questions?
If you have questions about our audio engineering and music production program or would like to book a tour, we would be pleased to speak with you.
Text Us: 519.200.4151
Share This With a Fellow Music Lover
Apply in 4 Steps!
Step 1: Click apply now.
Step 2: Answer 8 questions about yourself.
Step 3: Upload supporting documents.
Step 4: That's it! You are done.
Share this with fellow music lovers
About Us
OIART is a unique school and program like you’ve never experienced before.
502 Newbold Street London, ON.
Quick Links
School Life
Get In Touch
If you have questions about our audio engineering and music production program or would like to book a tour, we would be pleased to speak with you personally.
O.I.A.R.T. Inc. | Privacy Policy | Sexual Violence and Harassment Policy | Terms of Use | Website design by Plasmid144 Digital Marketing